- Published on
使用 Next.js + 自動部署 建立 Blog
- Authors

- Name
- Alvis Lu
之前的 Blog 是用 Jekyll。它是一個 Ruby 的靜態網站生成器。其實那時只是想快速建立 Blog,Ruby、Jekyll 是什麼也不清楚,反正能上架就可以了。
身為一位軟體工程師,怎麼能連自已的 Blog 架構是什麼也不清楚呢? 所以決定把架構換成 nextjs + tailwind,原始碼可以參考 tailwind-nextjs-starter-blog。 接著使用 vercel 來部署和管理 Blog。
如何啟動 Blog?
首先當然是 fork tailwind-nextjs-starter-blog 。
接著在 clone 到本地,記得將以下 repository 換成自已的。
git clone https://github.com/timlrx/tailwind-nextjs-starter-blog.git
安裝
yarn
執行
yarn dev
接著開啟 http://localhost:3000 就可以看到 Blog。
修改個人資料
關於我 這頁面內容的需 data/authors/default.mdx 調整。
---
name: Alvis Lu
avatar: /static/images/alvis-lu.jpeg
occupation: Software Engineer
company: simpos.com.tw
email: uualvislu@gmail.com
linkedin: https://www.linkedin.com/in/alvis-lu-6b0a74127/
github: https://github.com/alvisLu
---

Hi! 我是 Alvis,一位軟體工程師,專注**系統**與**網頁開發**。

喜歡簡單的事物,因而保持 **KISS** (Keep It Simple and Stupid) 原則。喜歡挑戰與學習新的事物,這裡會分享和記錄一些學習到技術。
一些網頁資訊則由 data/siteMetadata.js 調整。
/** @type {import("pliny/config").PlinyConfig } */
const siteMetadata = {
  title: `AlvisLu's Blog`,
  author: 'Alvis Lu',
  headerTitle: 'AlvisLu Blog',
  description: '',
  language: 'zh-tw',
  theme: 'system', // system, dark or light
  siteUrl: 'https://alvis-blog.vercel.app/about',
  siteRepo: 'https://github.com/alvisLu/alvis-blog',
  siteLogo: '/static/images/logo.png',
  socialBanner: '/static/images/twitter-card.png',
  email: 'uualvislu@gmail.com',
  github: 'https://github.com/alvisLu',
  ...
}
部署
完成了本地測試後,接著就是部署 Blog 了。 以下會介紹 GitHub Actions 和 Vercel 兩種部署方式。
使用 GitHub Actions 部署
什麼是 GitHub Actions ?
GitHub Actions 是 GitHub 提供的功能,允許開發者自動化和定制軟件開發工作流程。 這些流程有推送新的 commit 時就會觸發,用於自動化測試、構建和部署等任務。
作者已經將 yaml 檔案寫好了(pages.yaml),只要完成 GitHub 的部署設定就可以了。
Settings > Pages > Build and deployment > Source (選擇 GitHub Actions)
使用 Vercel 部署
什麼是 Vercel ?
Vercel 可以輕鬆的部署前端應用程序,不需複雜的配置。 只需要連接到 Git 存儲庫,目前支援 GitHub、GitLab 和 Bitbucket,有推送新的 commit 時就會自動部署,最重要的是它支援 nextjs 👍。
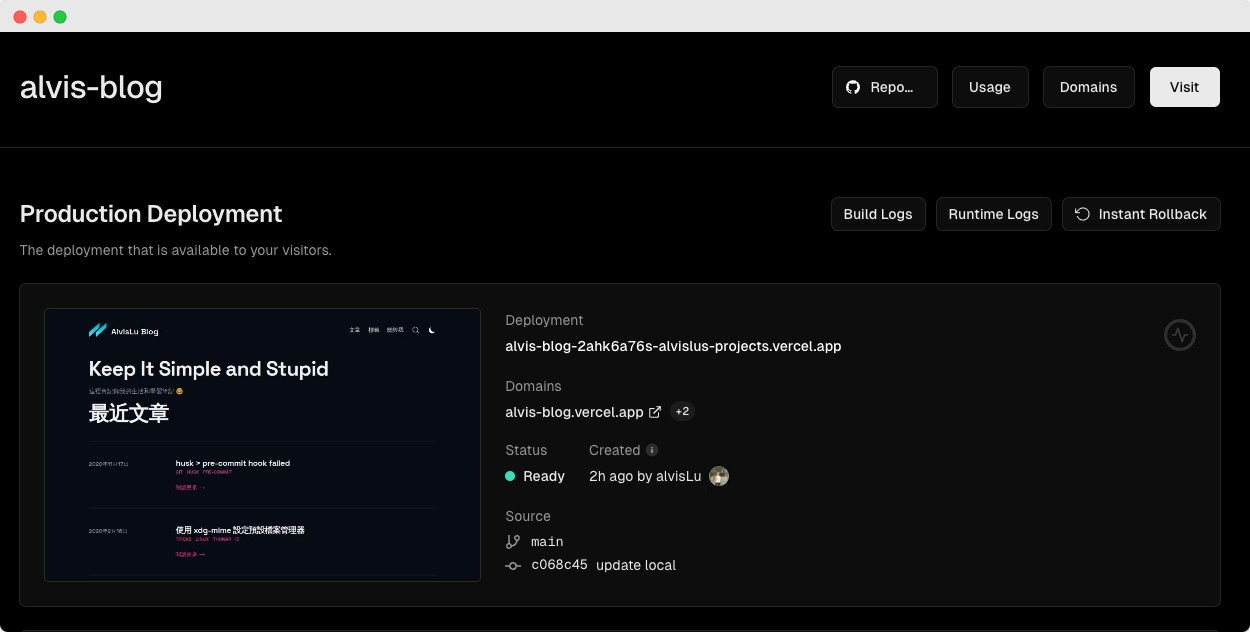
到 Add New... -> project 部署 Blog。 搜尋到 Blog 專案,按下 Import

等待部署完成 Blog 就成功發署了 🥳。